Rv Awning Spring Adjustment
Solera Awning Replacing A Manual Awning Spring Assembly Youtube

Rv Awning Repair Releasing The Spring Tension Camper Awnings Rv Awning

Rv Doctor Rv Awning Canopy Replacement Rv Travel
Awning Spring Assembly Youtube
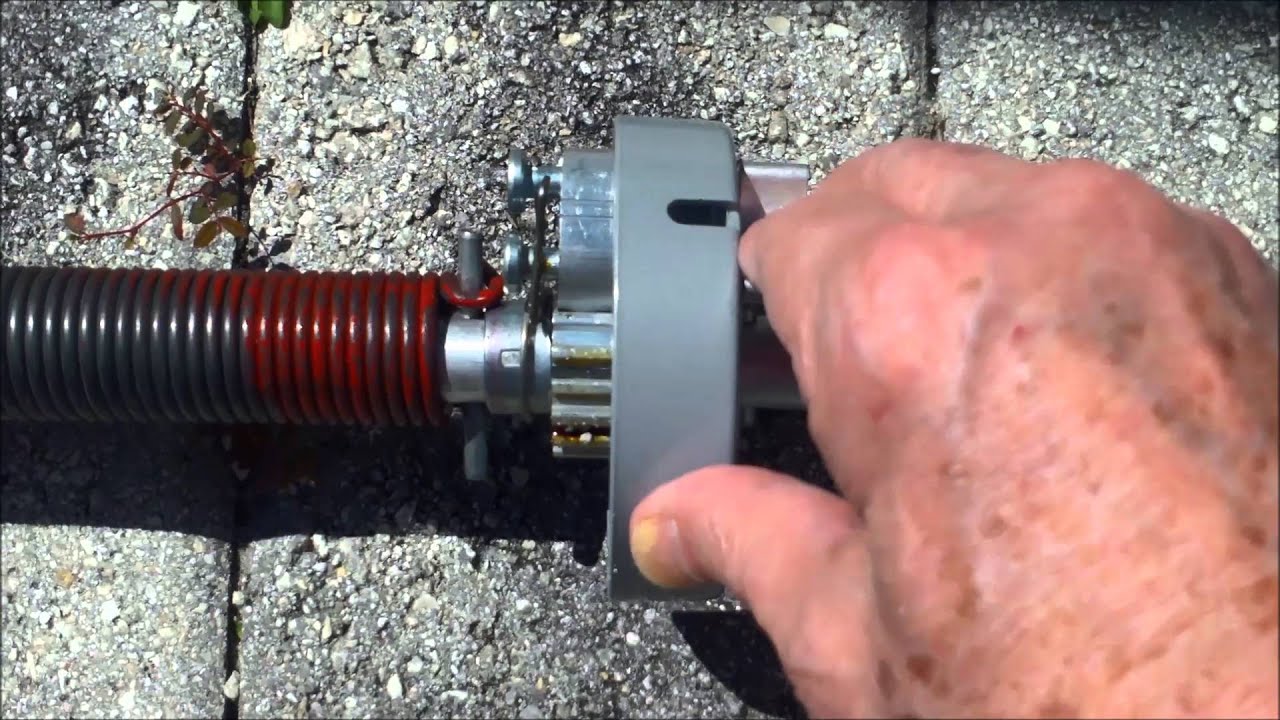
Adjusting Awning Tension

Rv Awning Repair Spring Tension Chart Rv Repair Repair Awning
It s best to check your rv awning manual to determine the number of turns you ll need winding up your spring.
Rv awning spring adjustment.

How To Adjust The Spring Tension Youtube

Rv Awning Tension Adjustment Service In Chehalis Olympia Wa Awesome Rv

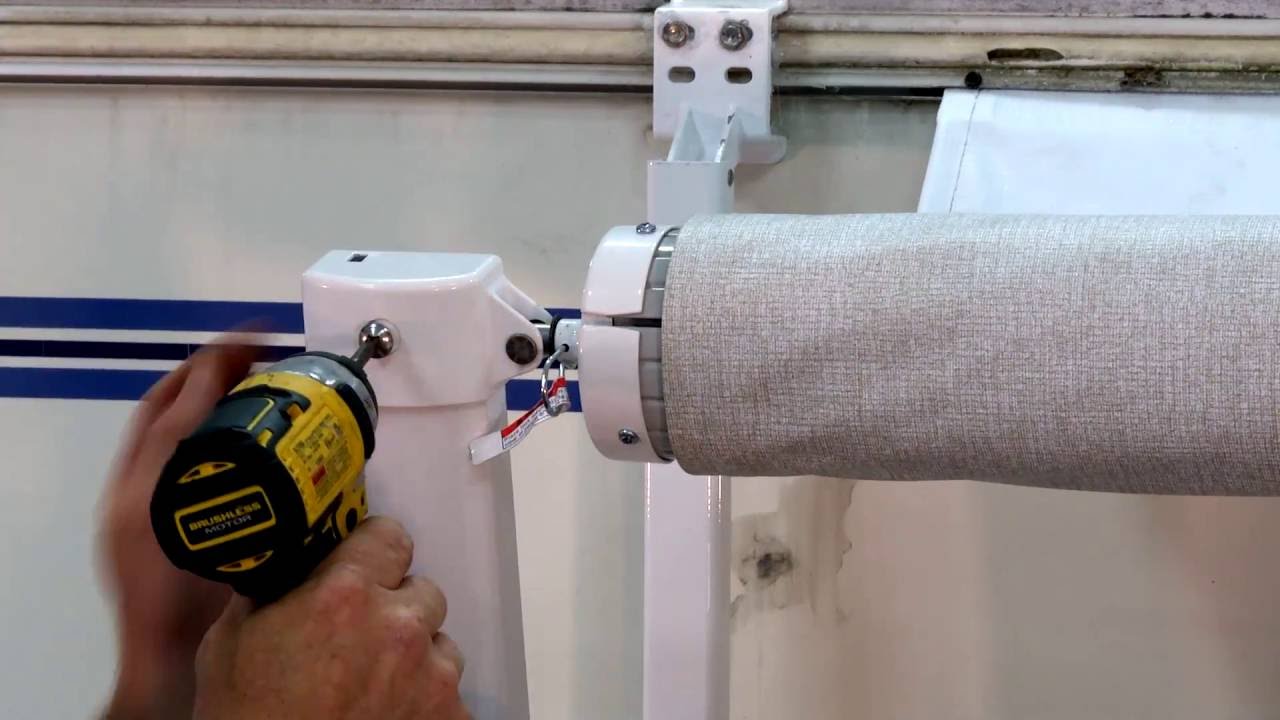
Adjusting An Rv Awning Spring Is A Simple Process Made Easier With An Extra Pair Of Hands You Ll Need A Screwdriver And Something To Rv Awning Make It Simple

Awning Adjustment Youtube
Source : pinterest.com
