Rv Awning Spring Tension Adjustment

Rv Awning Repair Spring Tension Chart Rv Repair Repair Awning

Rv Awning Tension Adjustment Service In Chehalis Olympia Wa Awesome Rv
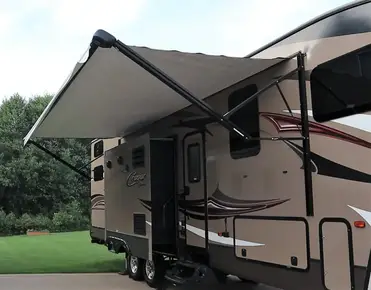
Rv Awning Repair Read This Before Starting Your Repair Rvshare Com

Rv Awning Repair Releasing The Spring Tension Camper Awnings Rv Awning
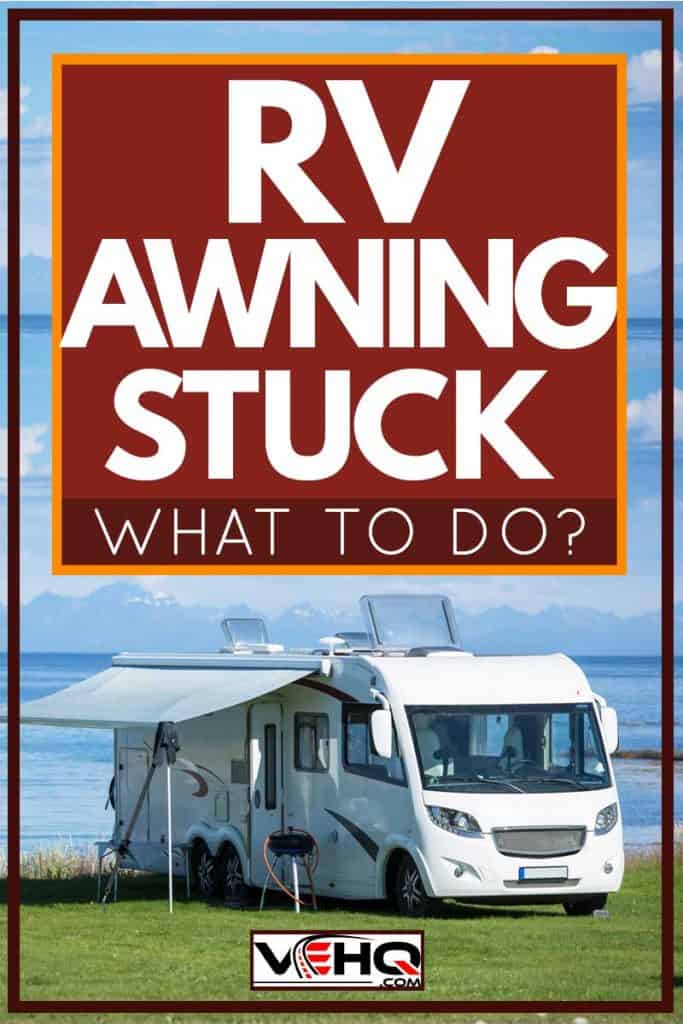
Rv Awning Stuck What To Do Vehicle Hq
Power Awning Won T Retract How To Test And Replace Rv Awning Motor

Remove the 2 phillips head screws from the bottom end of the outer section.
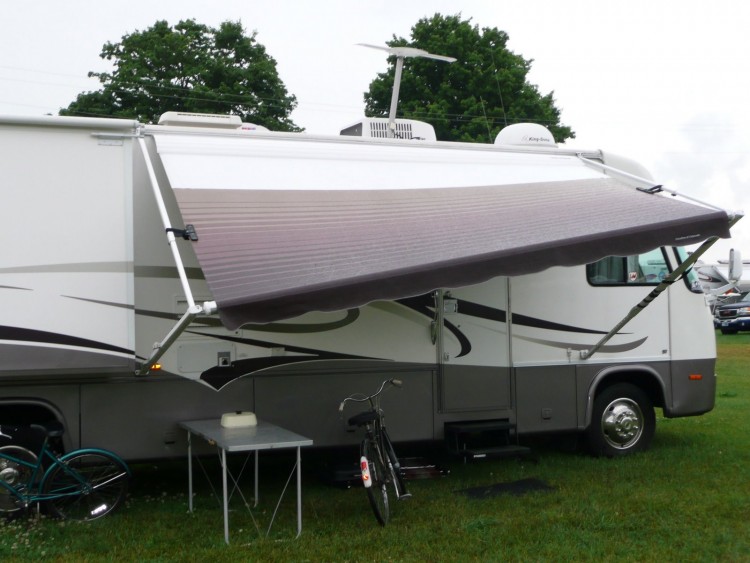
Rv awning spring tension adjustment.

Don T Make These Mistakes With Your Rv Awning Rv Groovin Life
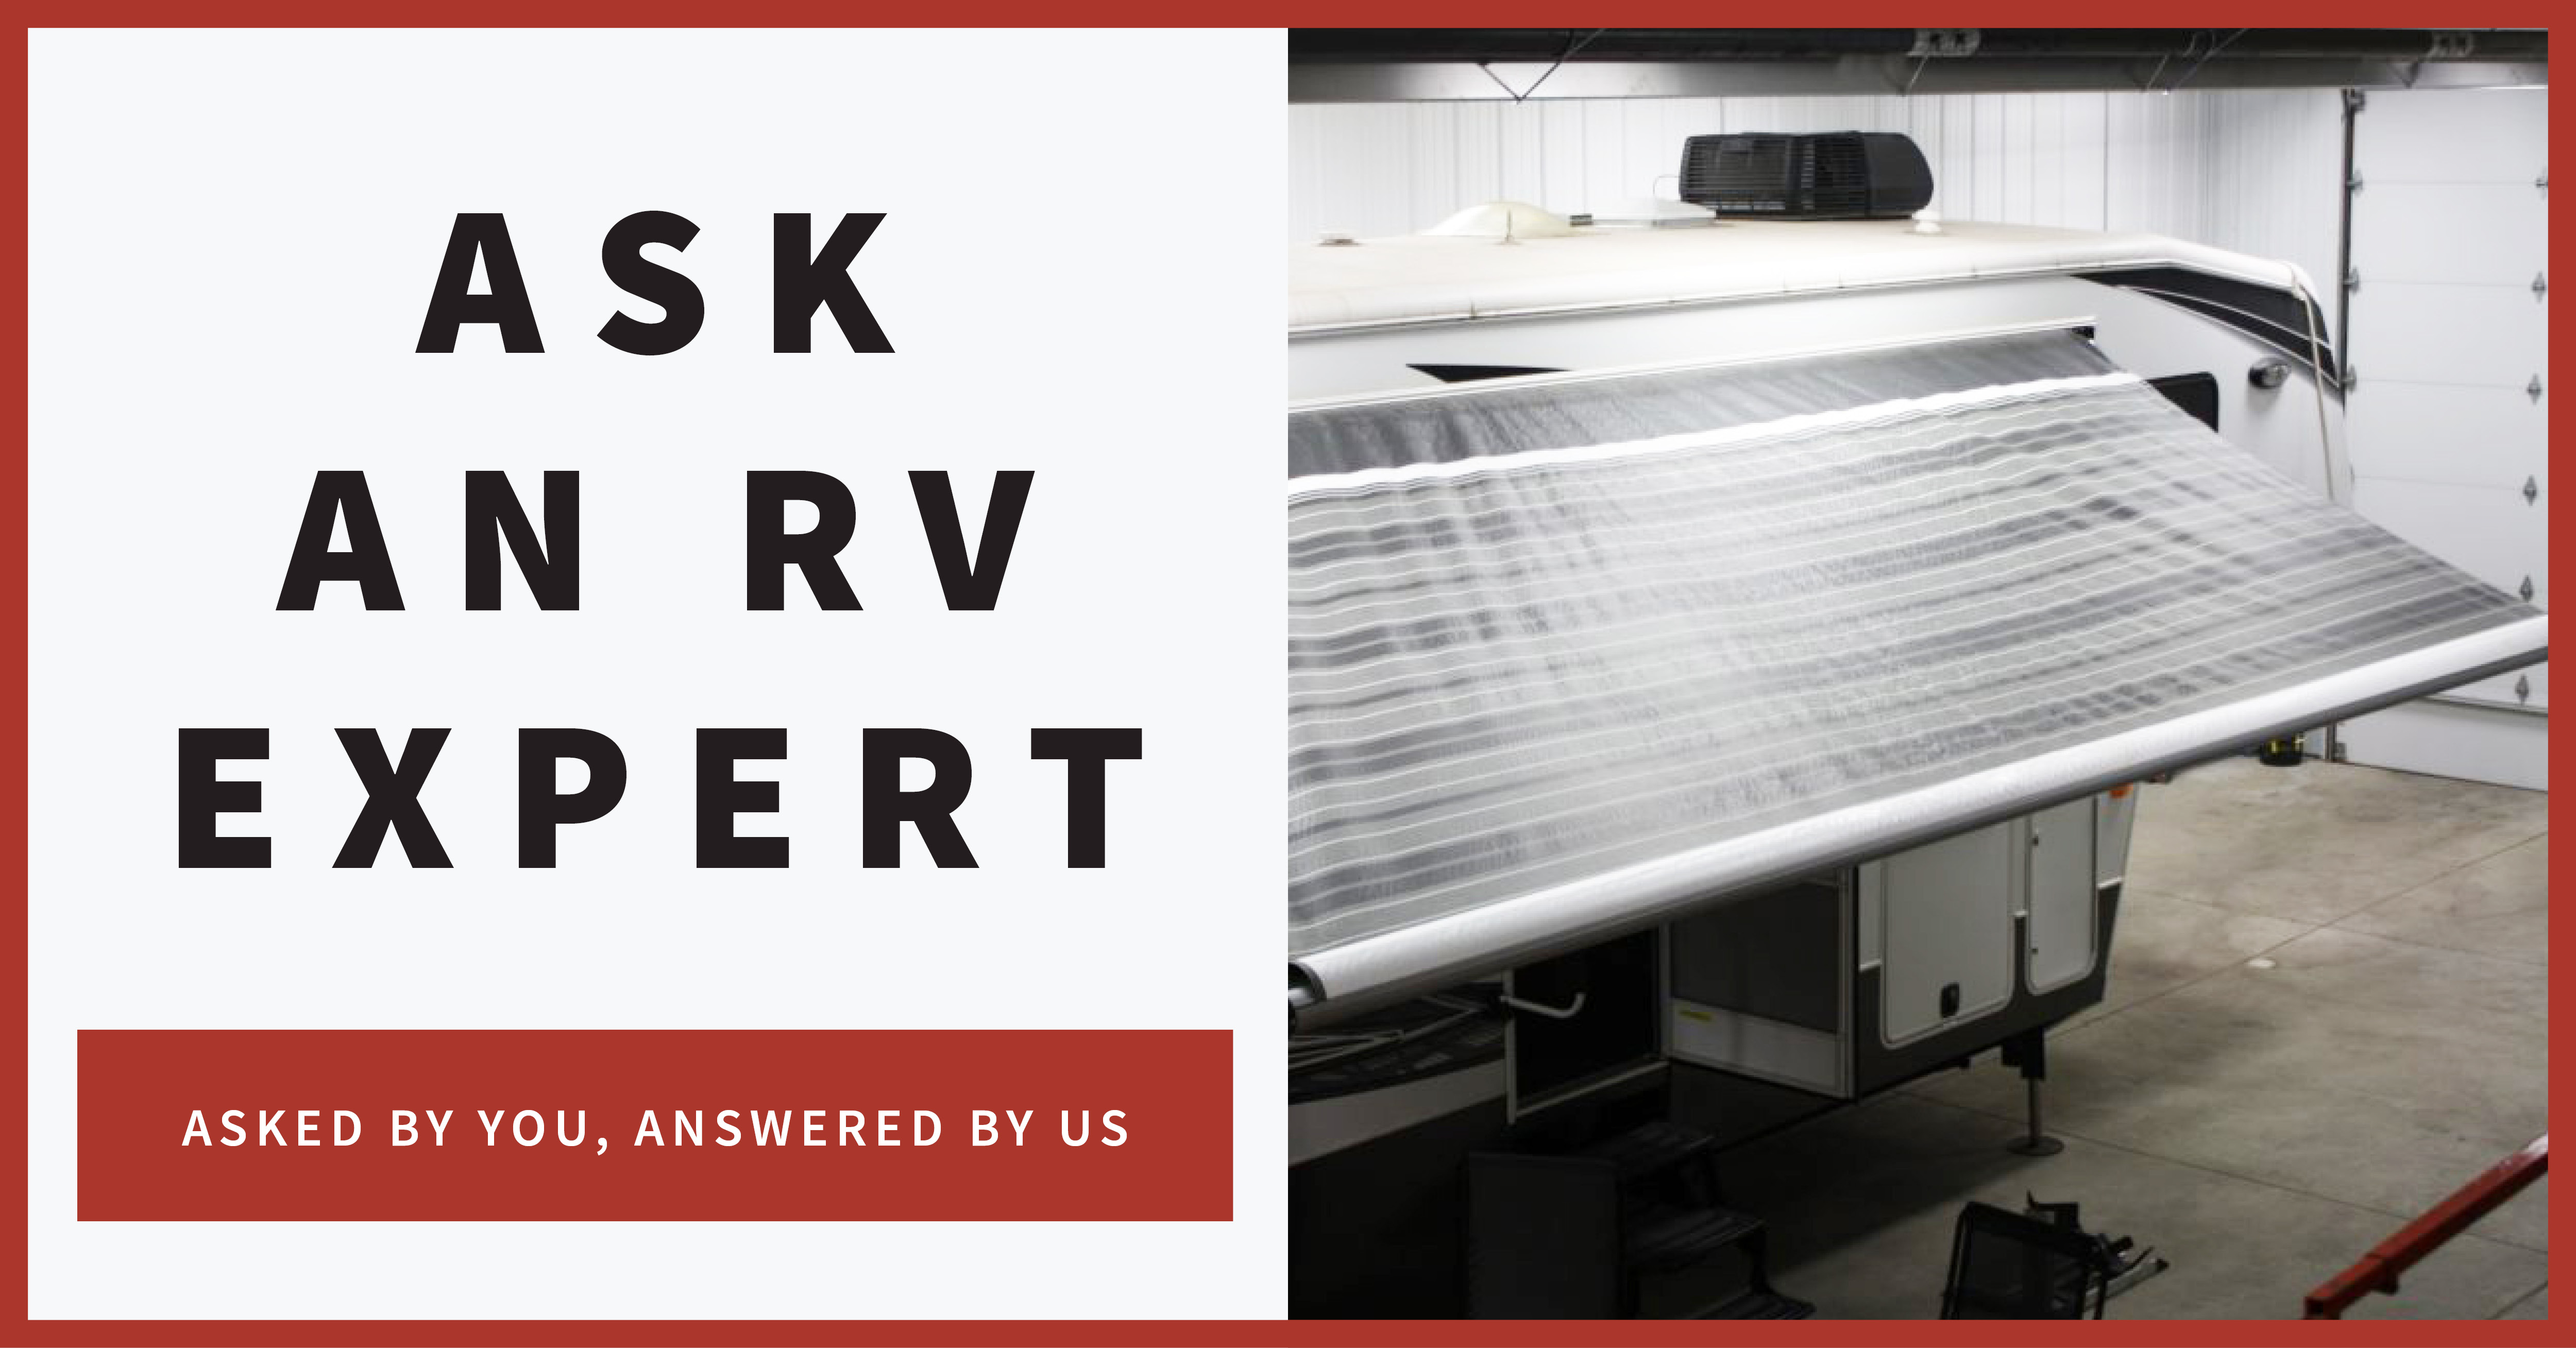
What To Do When An Awning Won T Go In Rv Repair Club Q A

This Is How I Use A Pvc Tube As A Tarp Awning Leg I Drill A Hole Through The End And Tie A Rope Through It A Spring Clip Holds I

Replacing Rv Awning 2 0 The Easier Way To Do This Youtube
Source : pinterest.com
